Introduction
Creating a presentation or documentation from Figma has become an increasingly common alternative to Google Slides or PowerPoint, especially for designers who want to keep control over layout, components, and style.
But once the presentation is finished, a long and tedious step often follows: renaming all the slides and updating the page numbers before exporting to PDF.
Fortunately, there is a simple, fast, and effective way to automate all of this directly in Figma — without any complex plugin, and with a handy bonus trick thanks to a clever tool: Change Text to Layer Name.
Creating slides directly in Figma
A fast alternative to Google Slides or PowerPoint
Rather than juggling several tools, many designers prefer to design their presentations directly in Figma.
The idea is simple:
- Create a 1920x1080 artboard (16:9 ratio) per slide.
- Build your content with Auto Layout to keep a flexible and consistent structure.
- Reuse your components to save time and keep the same logic as your mockups.
This method has two major advantages:
- You stay in your usual design environment.
- You can easily copy and paste elements from other projects (UI Kit, tokens, variables, etc.) to standardize the presentation.
The problem: managing names and numbers manually
Once your slides are ready, you need to rename them before the PDF export.
The issue is that Figma does not always order the layers visually the same way they appear on the canvas, which can lead to disorganized exports.
On top of that, if you have added a slide number in the bottom right (often in a small text frame), you have to update it one by one.
The result: a time-consuming operation, especially if your presentation exceeds a dozen slides.
Automatically rename your slides in Figma
Step 1 – Use Auto Layout to reorganize the frames
If your slides are already placed side by side on the canvas, select them all and apply Auto Layout.
This lets Figma understand the real visual order of your slides.
- If your slides are on a single row, that's perfect.
- If they are on several rows (for example, to distinguish sections), create one Auto Layout per row, then a second one to group them into columns.
Once the order is restored, ungroup (Shift + Cmd/Ctrl + G) to keep the correct hierarchy in the layers list.
Step 2 – Rename the slides automatically
With all your slides selected, press Cmd + R (Mac) or Ctrl + R (Windows).
Figma then opens the bulk rename modal:
- If you want to keep the current name: type
{currentName}. - Otherwise, enter a pattern like
Slide {001}for automatic numbering.
Figma automatically increments the number on each layer:Slide 1, Slide 2, Slide 3…
And when you export to PDF, your pages will already be in the right order.
Automatically paginate your slides
Step 3 – Identify and select the pagination field
If you have a small page number text in the bottom right of each slide, you can update it in bulk.
To do this:
- Select all the slides.
- Press Enter to access their children.
- Navigate with Tab to reach the corresponding text layer (assuming it is at the same level and in the same place on each slide).
You now have all your numbers selected simultaneously.
Step 4 – Rename and transfer the layer value to the text
As with the slides, use Cmd/Ctrl + R to rename the text fields (for example 1, 2, 3, etc.).
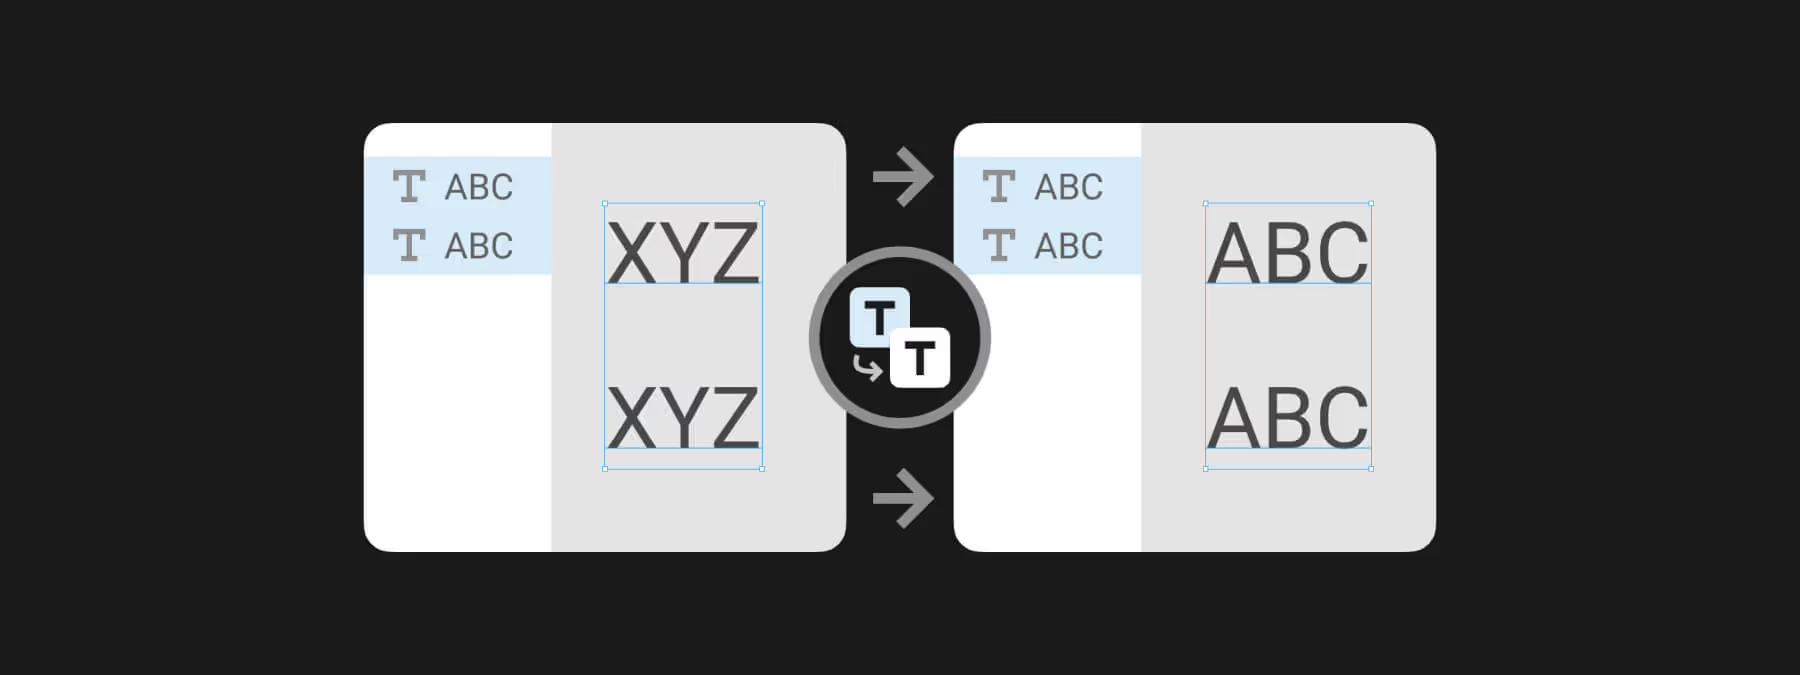
Then use the Change Text to Layer Name plugin:
it automatically converts the layer name into text content.
The result: each number displayed in your slides matches its exact order, without having to edit each field manually.
Final export and time savings
Once the slides are renamed and the numbers are updated, all that's left is to export to PDF.
Everything will be in the right order, with clean and consistent pagination.
In our experience, this workflow turns a tedious task — renaming, numbering, ordering — into a series of semi-automatic actions.
In just a few minutes, your documentation is ready to share, with no pagination errors or messy layers.
Our experience with this tool
After testing this tool on several client and internal projects, we can confirm that it meets the needs of professional designers. Our team uses it regularly in its daily workflow, which allows us, in our experience, to validate its effectiveness in real production conditions.
Aspects tested in detail:
- Performance on large files (500+ frames)
- Compatibility with complex design systems
- Stability during intensive use
- Integration into a team workflow
Points to watch (tested in real conditions)
In the interest of transparency, here are the limitations we identified during our tests:
- Processing time can increase on very large files
- Requires a stable internet connection for some features
- Learning curve for beginner users
Conclusion
Figma is not only an interface design tool, it is also an excellent platform for creating interactive presentations or documentation.
By combining Auto Layout, the built-in bulk rename, and a small plugin like Change Text to Layer Name, you can generate professional PDF documentation in record time.
This kind of approach — streamlining repetitive tasks and automating micro-actions — embodies the philosophy of modern designers: saving time on the form so you can focus on the substance.