Introduction
Even though the evolution of design tools makes it ever simpler and faster to design a user interface, one problem is and remains recurrent: file size. Indeed, even if you rarely export Figma files, they are still files with a certain weight. This size can vary depending on the number of elements in general, but above all on the number of images and their initial dimensions relative to the area where they are used.
Smaller images help files load faster and reduce memory usage. Having used the feature natively available in Sketch, “Reduce File Size”, which lets you reduce a file's size, we needed to find an equivalent for Figma that would give us control over the compression level at the very least, or even additional options.
That equivalent is the Figma plugin "Downsize", which, in our experience, lets you keep working in the best conditions despite a project that is too large or a project containing too many images with unsuitable dimensions.
Features
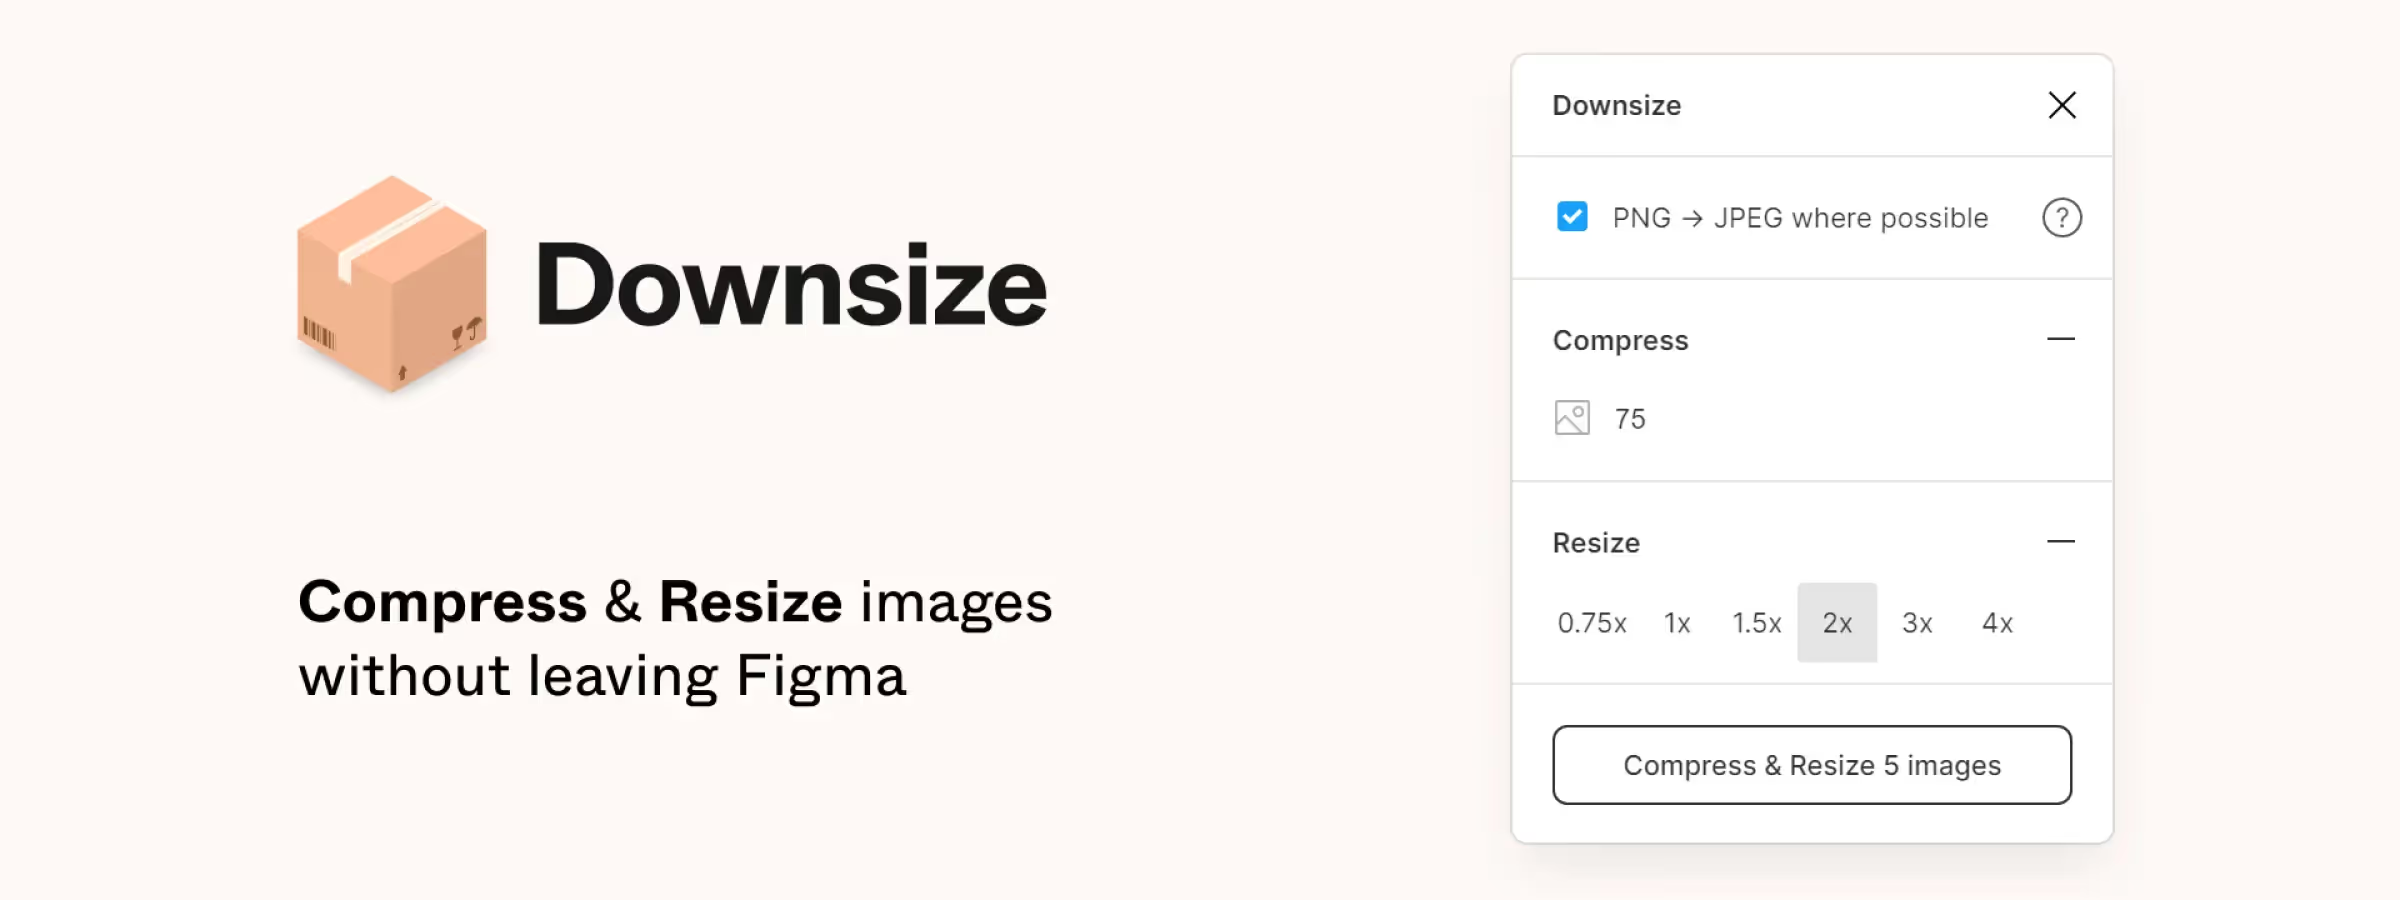
PNG TO JPG
When your images do not have a transparent background, that is, when they do not use an alpha channel, you can convert the PNG images used into JPG to further optimize the space you save.
COMPRESS
By selectively reducing the number of colors in the image, the image will contain fewer bytes. The difference is almost invisible, but there is a very large difference in file size. I recommend setting the compression level to a value above 30, otherwise you risk losing image quality.
RESIZE
The resize function has a particularity based on the dimensions of the image and those of its fill. Let's say your object has a dimension of 100 by 100 pixels with a fill image of 200 by 200 pixels. If you choose a 4x multiplier, instead of "scaling" the image to 400 by 400 pixels, it will keep its original size of 200 by 200 pixels, because the image is not 4 times the size of the object, so it does not have a dimension of 400 by 400 pixels.
Conversely, if the image is far too large relative to the object, for example 800 by 800 pixels for an object of 100 by 100 pixels, when you apply a 2x multiplier you will get a compression of the image equivalent to 2 times the size of the object, and therefore an image with a dimension of 200 by 200 pixels.
Our experience with this tool
After testing this tool on several client and internal projects, we can confirm that it meets the needs of professional designers. Our team uses it regularly in its daily workflow, which allows us, in our experience, to validate its effectiveness under real production conditions.
Points tested in detail:
- Performance on large files (500+ frames)
- Compatibility with complex design systems
- Stability during intensive use
- Integration into a team workflow
Points to watch (tested in real conditions)
In the interest of transparency, here are the limitations we identified during our tests:
- Processing time that may be longer on very large files
- Requires a stable internet connection for certain features
- Learning curve for beginner users
Conclusion
To conclude on this Figma plugin Downsize, I would say that the promise is kept and that all designers who have worked with Sketch and used the “Reduce File Size” feature will feel right at home. The main need being to keep designing in the best conditions, and that means lightening the weight of the file or files you are working on.
The positive point to consider when handing off to technical teams is being able to enforce images with retina-appropriate dimensions and images already compressed in terms of file size.