Introduction
Whether it's an interface, a banner, or simply a business card, the flat rendering of your design alone doesn't let you fully visualize the final result. You often need to use what's called "mockups" to push the realism of your creation even further. Although there are many websites that let you upload an image and generate a mockup simulation, you need to be able to do it yourself when you have a specific presentation in mind.
If you're working in the UI universe, you'll likely only need to match the rendering that's expected after integration. For this, you need to be able to apply flat rendering to an area in perspective or even to an isometric area depending on your needs. You can also take any iPhone or MacBook visual and insert your design into it with just a few clicks.
The Angle plugin allows you, in our experience, to accomplish this type of task with an intentionally simple and accessible interface. Available on Sketch, Figma, and also Adobe XD, Angle will let you push the realism of your creations even further, whether you use the plugin itself or simply the resources available on the website.
Features
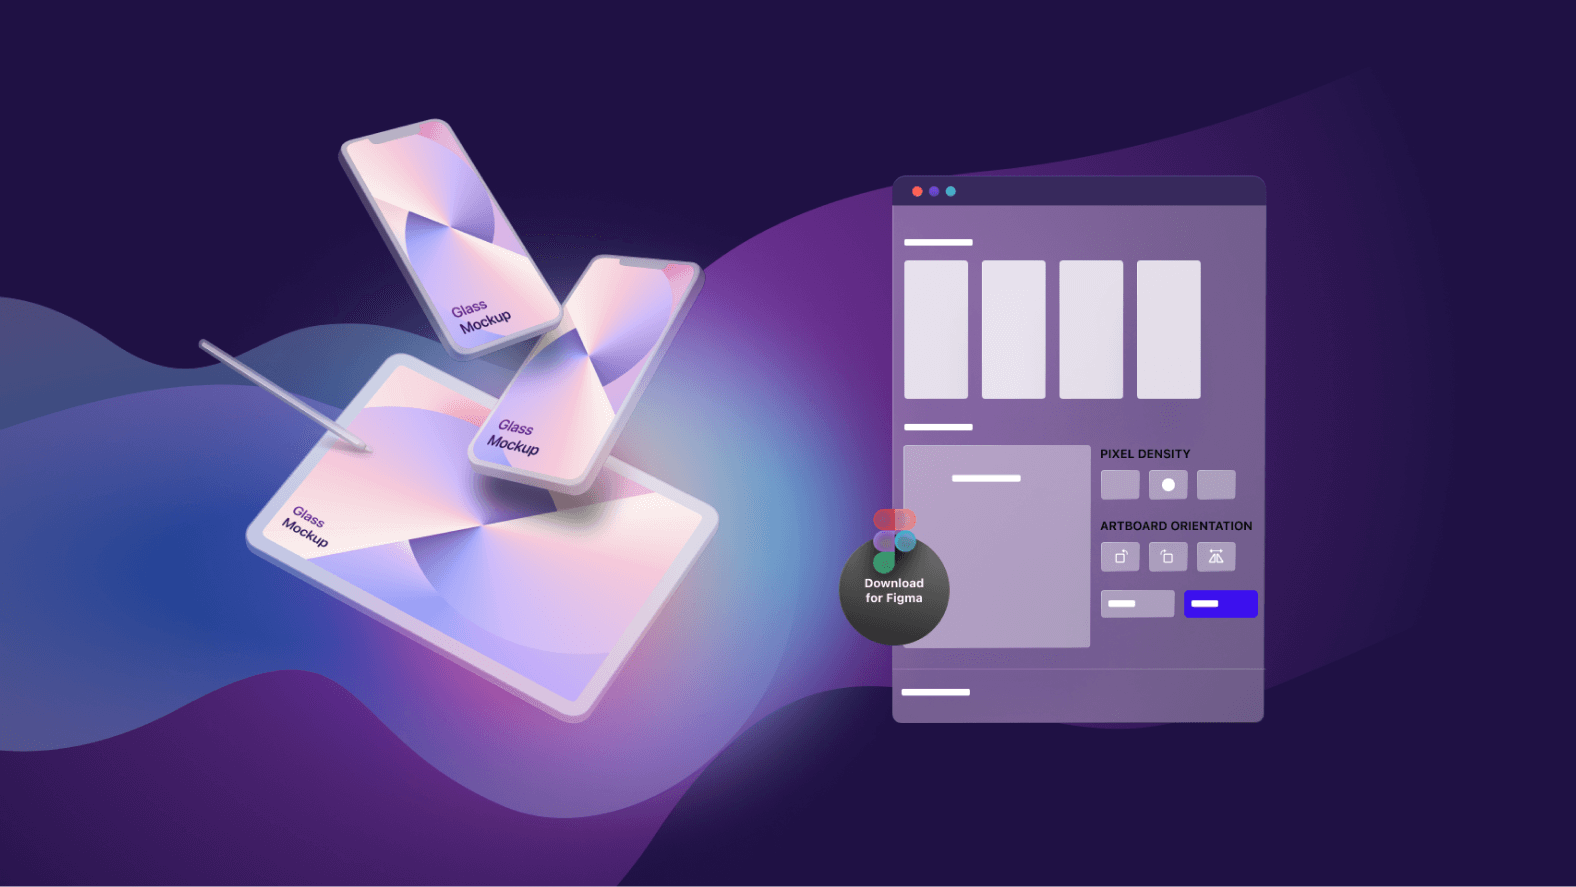
SUGGESTED FRAME
This first tab displays the elements most likely to work based on the dimensions and proportions of the element to which you want to apply the rendering.
ALL FRAME
This second tab lists all available elements for using the plugin. A special feature of the plugin and these two tabs: the selected element must be on the same "page" as the one to which you'll apply the rendering.
SEARCH A FRAME
This search bar will help you choose your frame more quickly. When you hover over it, its full name will appear. This can help you save time if you don't want to search for your frame based on the thumbnail.
PREVIEW
This area is dedicated to previewing the rendering. The functions in the "Apply Transformation" section can change the rendering preview, allowing you to avoid certain mistakes and having to restart the plugin.
PIXEL DENSITY
This option is the most practical in my opinion, as it allows you, in our experience, to choose the rendering resolution based on the size of the element to which the rendering will be applied. This allows you to generate clean rendering for retina displays, for example.
ARTBOARD ORIENTATION
The name is common across all design software, but for the Figma example, we should say "Frame Orientation". This allows you to rotate clockwise and counter-clockwise, and also to apply a mirror effect depending on the desired rendering.
How to Use It
SELECT A FRAME
First, you need two elements: the first being the rendering frame and the second being the shape used to apply this rendering. The shape can be simple, from a downloaded mockup or retrieved from a Figma Community resource. Once you have both elements, select the shape that will receive the rendering. You can launch the plugin, but be careful—the shape must have 4 sides.
APPLY TRANSFORMATION
Once the plugin window is open, you must select the frame that will serve as the basis for generating the rendering. You have the option to change the orientation as well as the final resolution of the rendering. Once you've configured everything properly, you just need to apply the rendering and you're done!
Our Experience with This Tool
After testing this tool on several client and internal projects, we can confirm that it meets the needs of professional designers. Our team uses it regularly in their daily workflow, which allows us, in our experience, to validate its effectiveness in real production conditions.
Points tested in detail:
- Performance on large files (500+ frames)
- Compatibility with complex design systems
- Stability during intensive use
- Integration into team workflow
Conclusion
Even though the needs are rarer, I would say that having known the older versions of the plugin and having tested it on Sketch, this Figma version delivers on its promises. The big advantage is being able to choose the density applied to the shape, which allows you, in our experience, to change its size without necessarily losing quality.
The only notable drawback is that the plugin applies the generated rendering as a property, which doesn't allow you to animate the rendering through Figma's Prototype section. However, don't worry—this can easily be worked around by using other plugins.